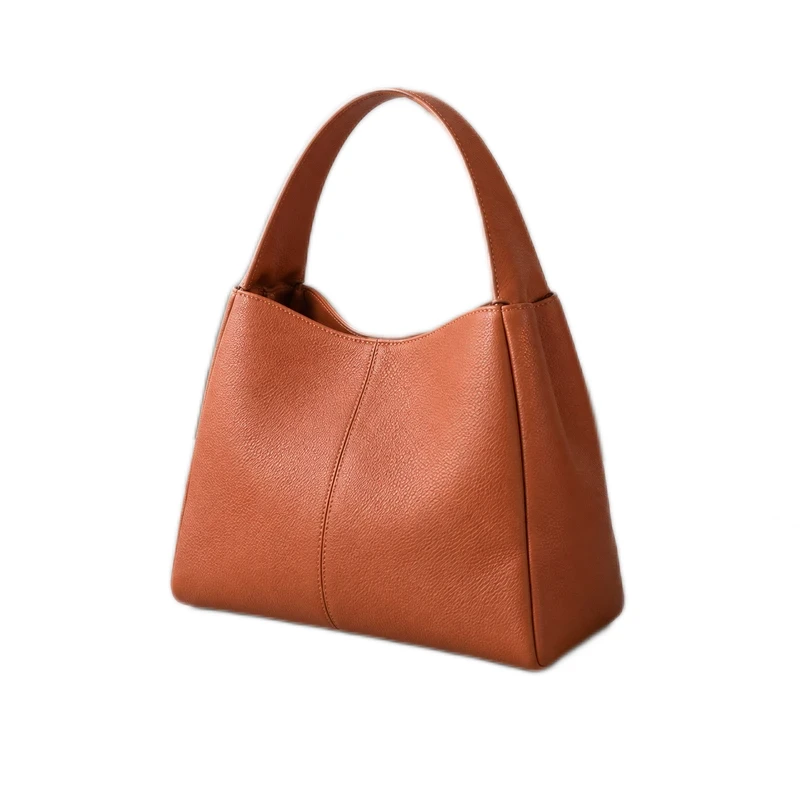
Place the original downloaded PNG over two different background colors in an editor that supports transparency. If those colors show through, the file is transparent. If a black rectangle remains, inspect the exported pixels or the app that imported them.
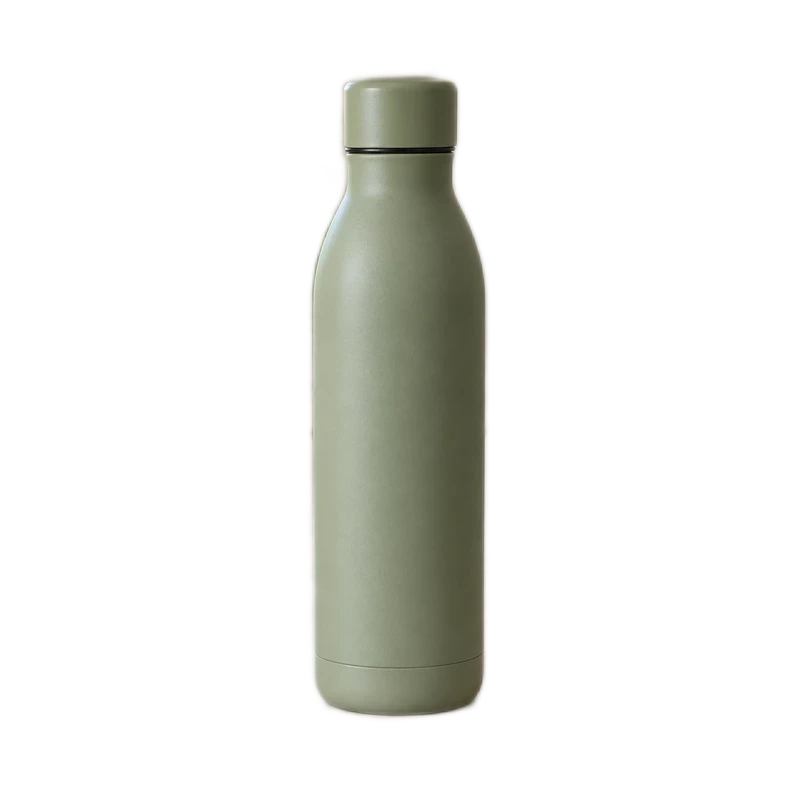
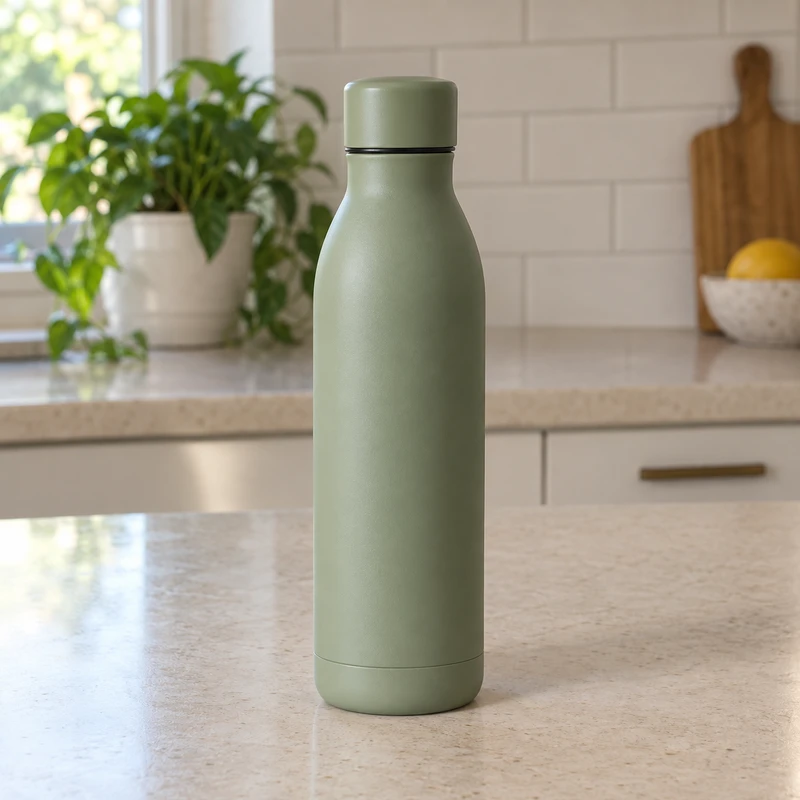 BeforeAfter
A black preview does not always mean a black image
PNG supports transparency, but not every PNG contains transparent pixels. Empty areas need a surface behind them when displayed. An app may use black, white or a checkerboard, so the same transparent file can look different in different viewers.
A solid black rectangle can also be real image content. For example, an image may have been flattened onto black before it was saved as PNG. The filename alone cannot tell you which situation you have.
Official reference: W3C: PNG specification and alpha representation
1. Test the downloaded file over two colors
Use the original download, not a screenshot or a copy pasted from a preview. In an image editor that supports layers and transparency, place the PNG above a colored rectangle. Change the rectangle from a light color to a dark one. Look outside the subject and through any openings, such as a bag handle.
If the rectangle’s color shows through those areas, transparency is working there. If a black box stays visible, try the same file in a second transparency-aware editor to rule out an import problem. Do this check before uploading the file to a background remover, which would alter the evidence.
2. Check the background and format you exported
In RemoveBG.Studio, return to your result and choose None for the background. Remove any full-canvas image material that sits behind the subject if you do not want it in the output. Select PNG, then download a fresh file. A white or black background selection creates a filled result even when the file format is PNG.
JPG cannot preserve transparency. Changing a filename from .jpg to .png does not change the pixels or the format. If you only have a flattened image, return to the original photo and remove its background again, then export with None and PNG selected.
3. Separate the viewer problem from the upload problem
When the download works in an editor but looks black somewhere else, check that destination’s transparency support. A thumbnail preview and the final inserted image may use different surfaces. Downloading the file again from the destination and repeating the two-color check can help reveal whether it was changed during upload.
If the destination needs a finished photo on white, add white in the studio and export that version. Keep your transparent original separately for future designs. A filled copy is useful for display, but it will no longer reveal a background placed beneath it.
Light backgroundDark backgroundWhat if only the edges look dark?
A thin dark outline is a different problem from a full black rectangle. Inspect the original photo and compare the cutout against light and dark backgrounds. The outline may contain leftover background pixels or partially transparent edge pixels that are more noticeable on one color.
Use Erase sparingly for unwanted pixels outside the subject. Use Restore if the correction removes part of the subject. If edge controls are available, try small adjustments and undo changes that make the edge worse. Large Shrink or Feather settings can damage fine detail; they are not a reliable fix for every dark fringe.
4. Verify the new file before sharing it
Open the fresh download in a transparency-aware editor and repeat the two-color check. Check gaps inside the subject as well as the outer border. A checkerboard visible in a screenshot is just ordinary image content; it does not prove that the screenshot has transparency.
Use clear filenames for the two outputs, such as handbag-cutout.png and handbag-white.jpg. In a saved batch, prepare a new download after changing background settings. An earlier ZIP keeps the version that was prepared at that time.
Final checks
- The original downloaded file was tested over two colors.
- None and PNG are selected for the transparent output.
- No unwanted background material covers the canvas.
- The destination supports transparency, or a separate filled copy is used.
Workflow checked against the current studio controls, September 20, 2026.
Make your next listing clearer.
Start with one photo or prepare a set. Review the result and download it without a watermark.
Create a transparent PNG ↗