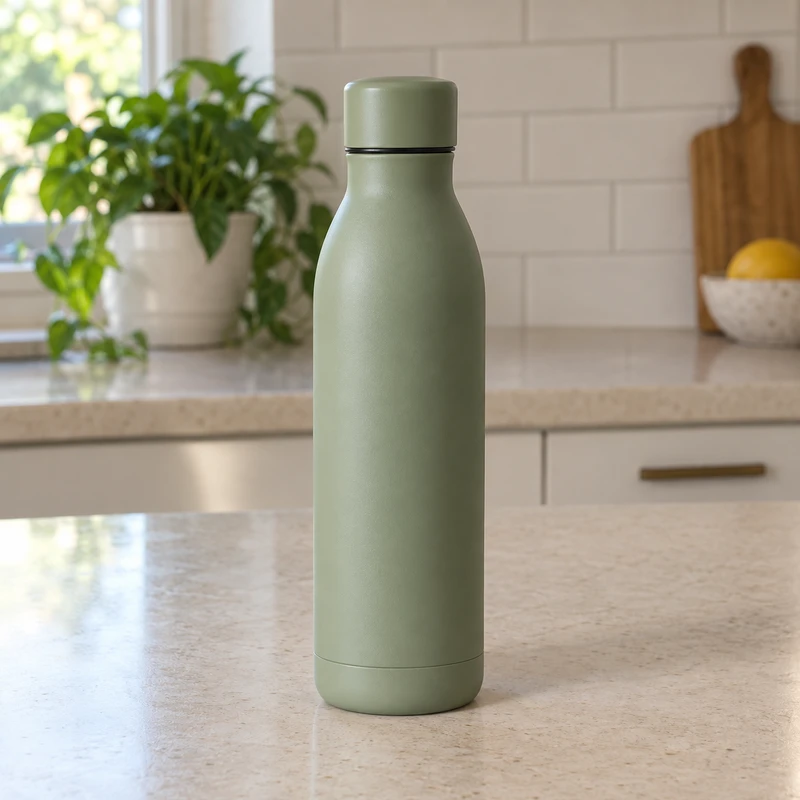
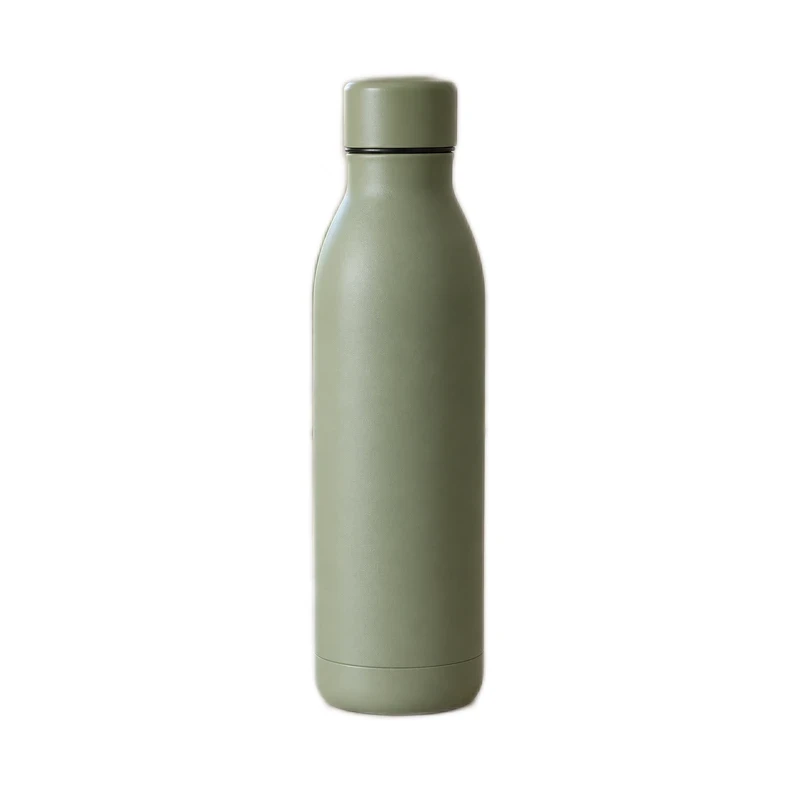
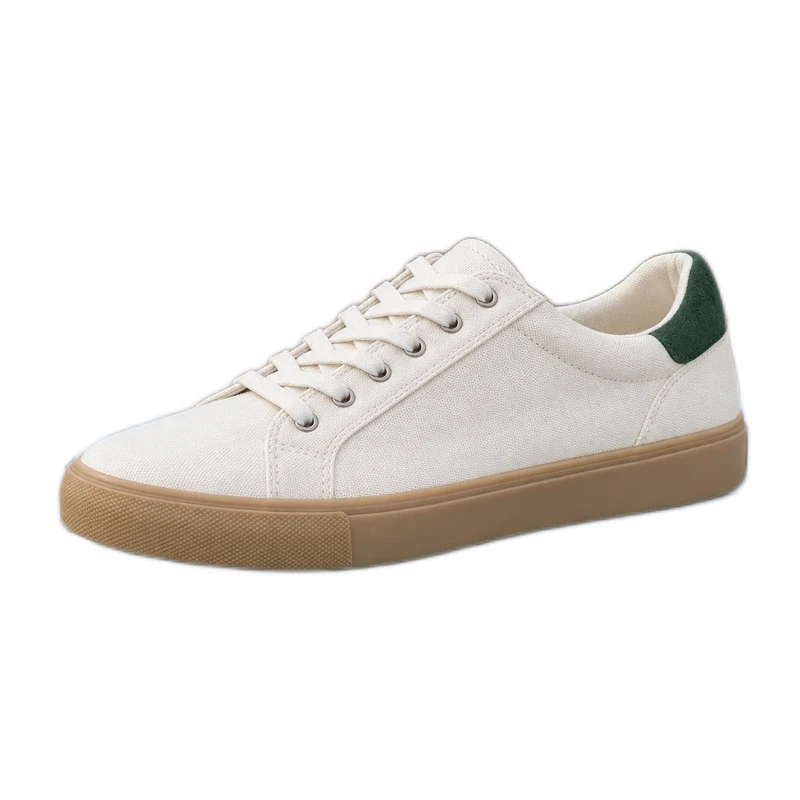
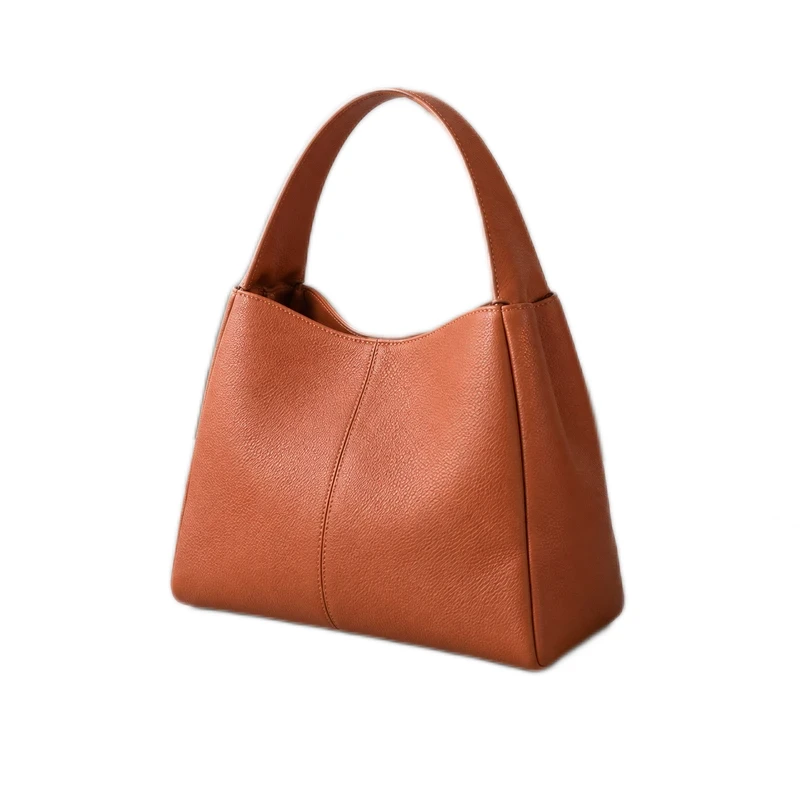
Inspect the cutout against a contrasting background and compare it with the original. Restore missing product pixels locally, then return to your intended background before exporting.
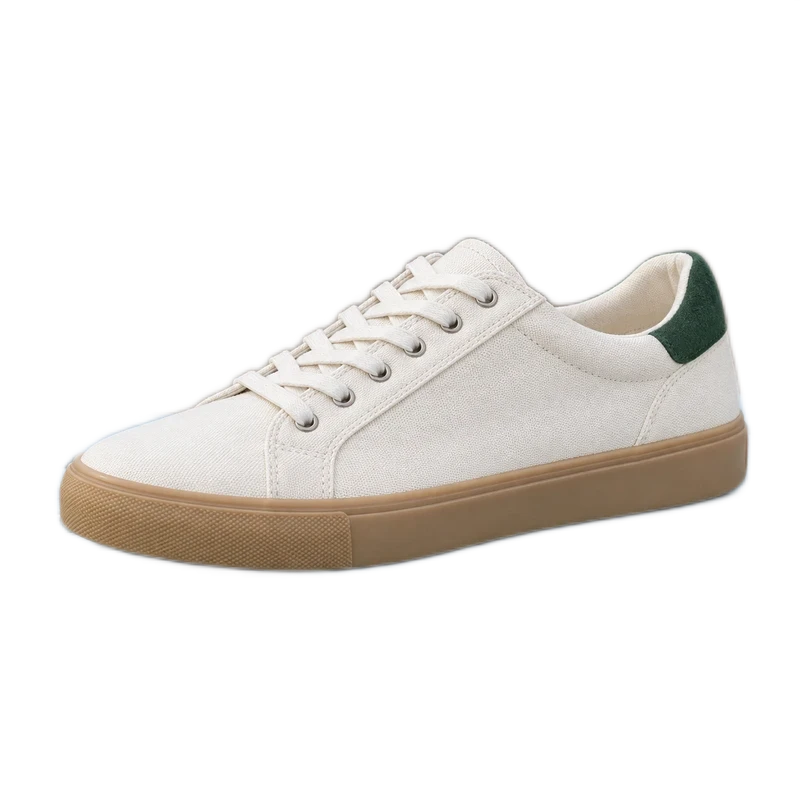
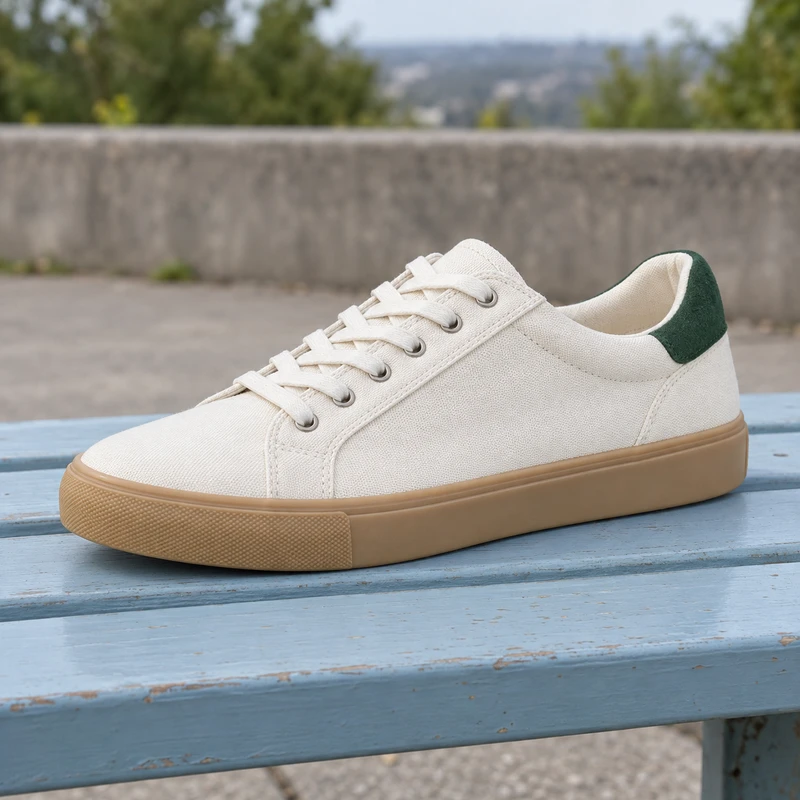 BeforeAfter
Why pale product details disappear
Background removal estimates which pixels belong to the subject. Where the product and backdrop have similar color and brightness, the boundary can be unclear. Fine laces, translucent material and bright reflections are especially worth checking.
Deleting every white pixel would also delete white parts of the product. Work with the subject mask instead, and keep the original image available for comparison. If the source is overexposed and the edge has disappeared into featureless white, an editor cannot reliably recover detail that was not captured.
1. Start with the best original available
Choose the sharpest original JPG, PNG or WebP rather than a screenshot or heavily compressed preview. Keep the entire item in frame. If you can reshoot, use a contrasting neutral backdrop and lighting that leaves visible texture in white areas.
Open the transparent background tool and add the photo. Let removal finish, then compare the result with the original before making adjustments. Identify specific missing areas: the outside of a sole, a thin strap, the tips of laces or a highlight on a bottle.
2. Inspect the cutout against contrasting colors
Temporarily choose a darker background in the studio. Zoom in on the pale edges and on openings inside the product. Switch to a lighter background as well: a leftover halo may be easier to see there, while a missing white edge is clearer on dark.
Keep the original view close at hand. A real highlight or pale seam should remain part of the product. The inspection color is only a viewing aid; return to None for a transparent export, or select your intended filled background afterward.
3. Restore locally, then clean the outside edge
Choose Restore and use a small brush around the missing part. Restore brings back pixels from the original photograph, so a broad stroke can also bring back the original backdrop. Work in short passes and compare after each change.
Use Erase to remove unwanted pixels just outside the recovered boundary. Undo a stroke if it removes a lace or changes the product’s shape. Keep real texture, wear and markings. If a critical edge is impossible to distinguish in the source, use another photo or specialist retouching instead of inventing a replacement.
Light backgroundDark background4. Use edge adjustments carefully
Where the standard edge controls are available, start with the smallest useful adjustment. Shrink can cut into thin features; Feather softens the transition and can make a solid edge look translucent. Inspect the whole product after changing either control.
Do not apply a large adjustment just to hide one difficult area. Local brush corrections are easier to assess for a single lace or corner. If HD source-guided refinement is active, the standard low-resolution edge controls are replaced; use the controls actually shown in your editor.
5. Export for the next use and recheck the result
For a reusable cutout, choose None and PNG. For a finished white-background product photo, choose white and download JPG or PNG. Saving as PNG alone does not remove a filled background, and JPG does not store transparency.
Inspect the downloaded image at its intended display size and at a closer zoom. Check the shape, fine details and openings against the original. A clean edge at a tiny thumbnail size can still have missing pixels in the full image. Keep the source and the editable result until you are satisfied.
Final checks
- Pale edges were checked on both light and dark surfaces.
- Recovered details match the original photograph.
- Restore did not reintroduce the old backdrop around the subject.
- The final download has the intended background and retains important details.
Workflow checked against the current studio controls, September 20, 2026.
Make your next listing clearer.
Start with one photo or prepare a set. Review the result and download it without a watermark.
Remove a product background ↗ Transparent