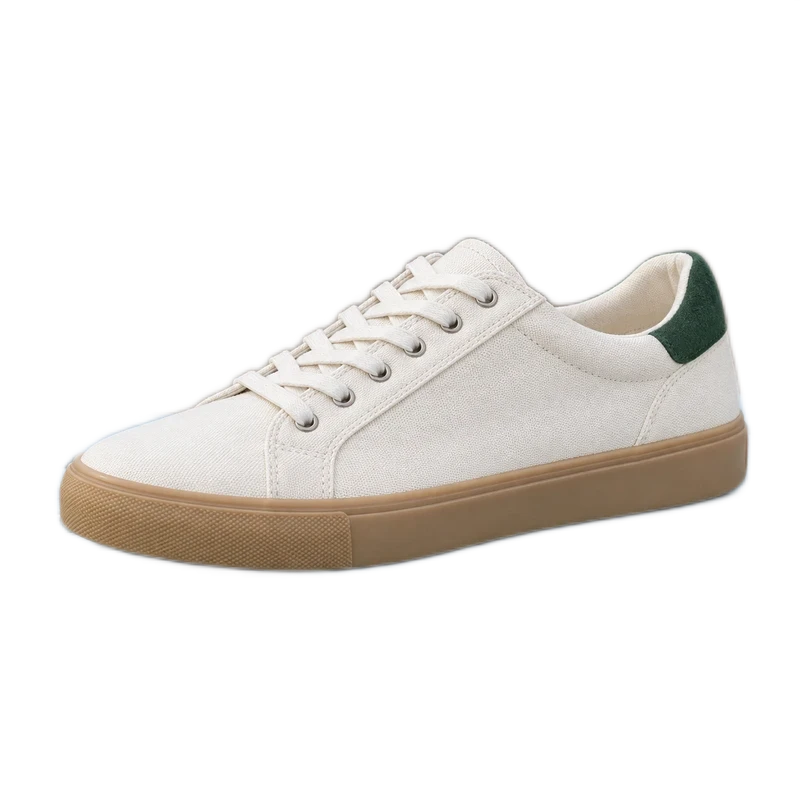
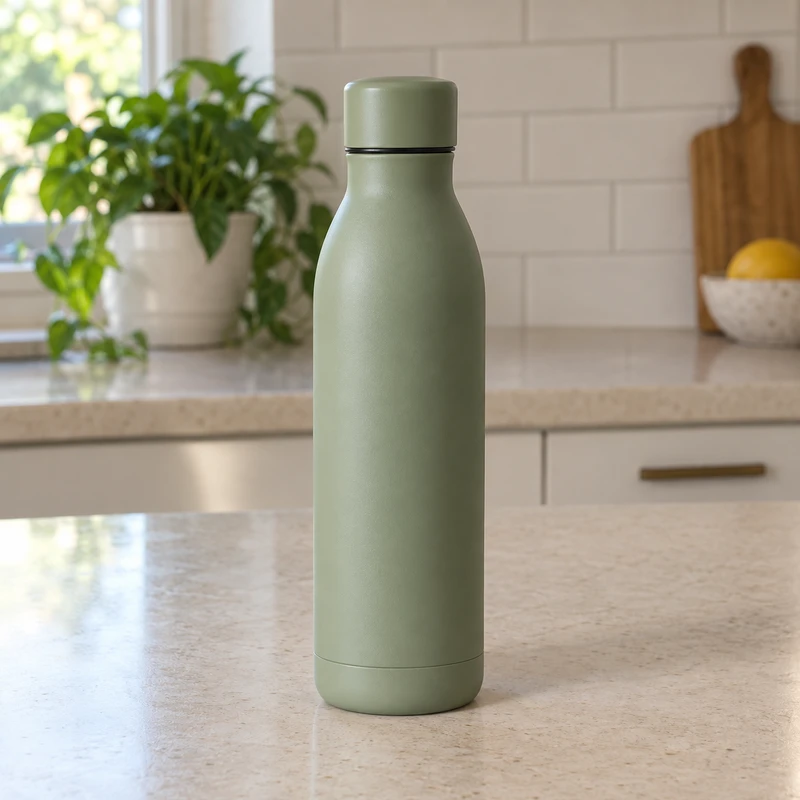
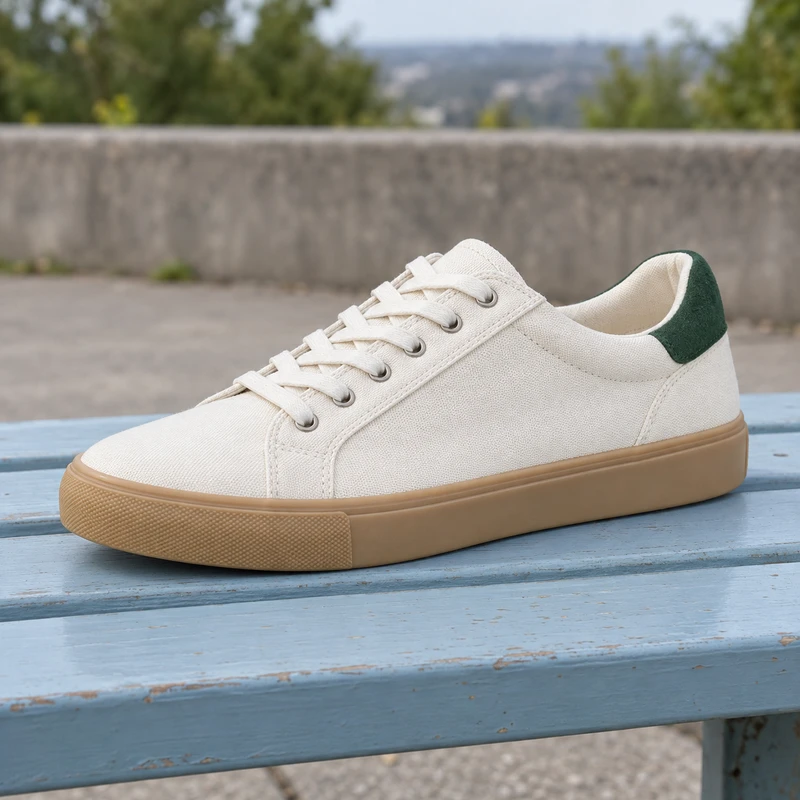
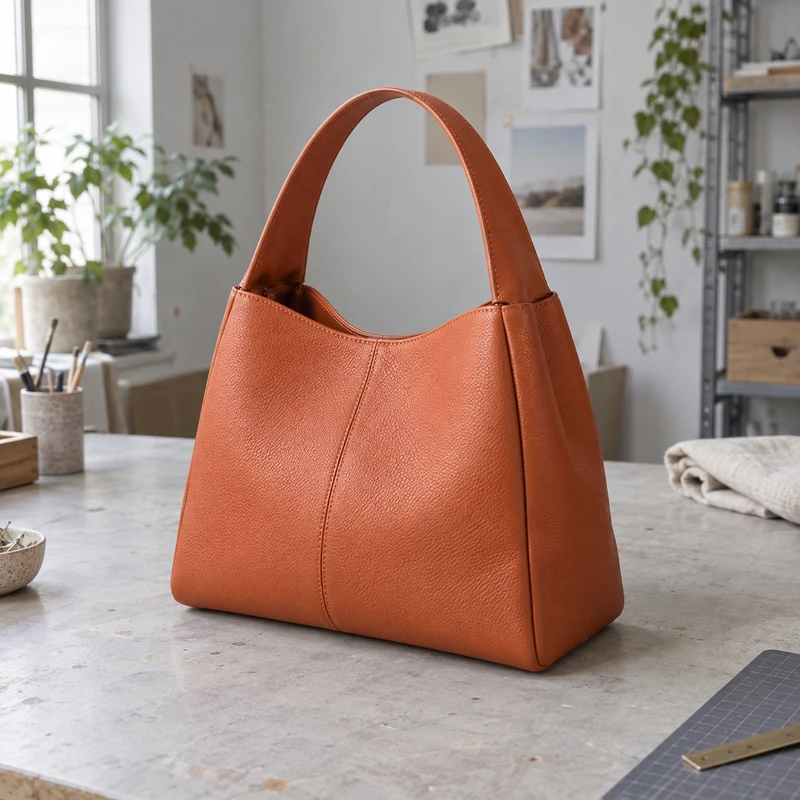
Choose one backdrop for the collection, review each cutout, and match the framing before you export. A shared background alone does not make every product the same size.
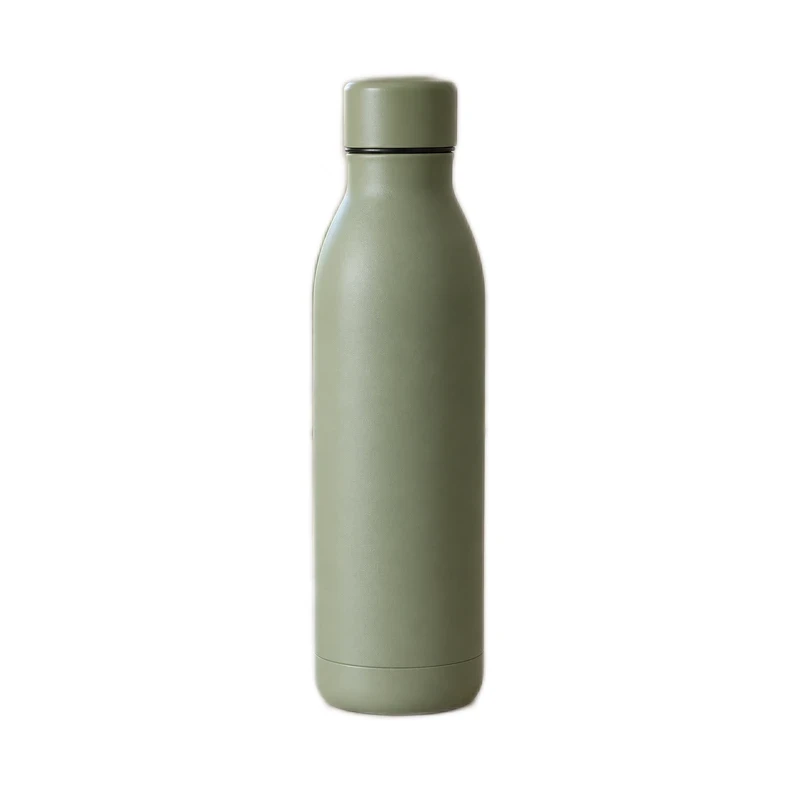
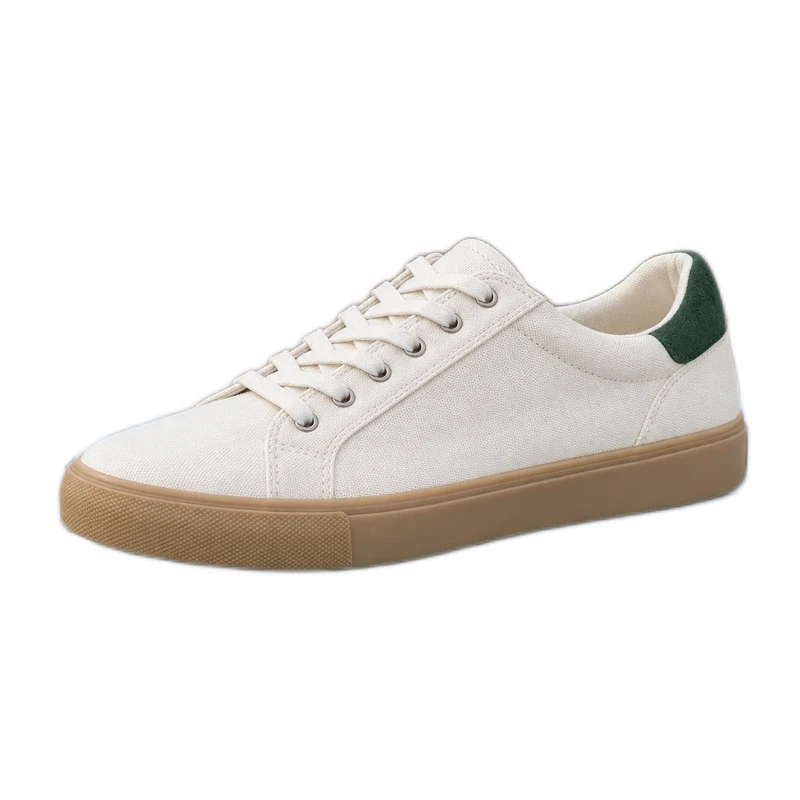
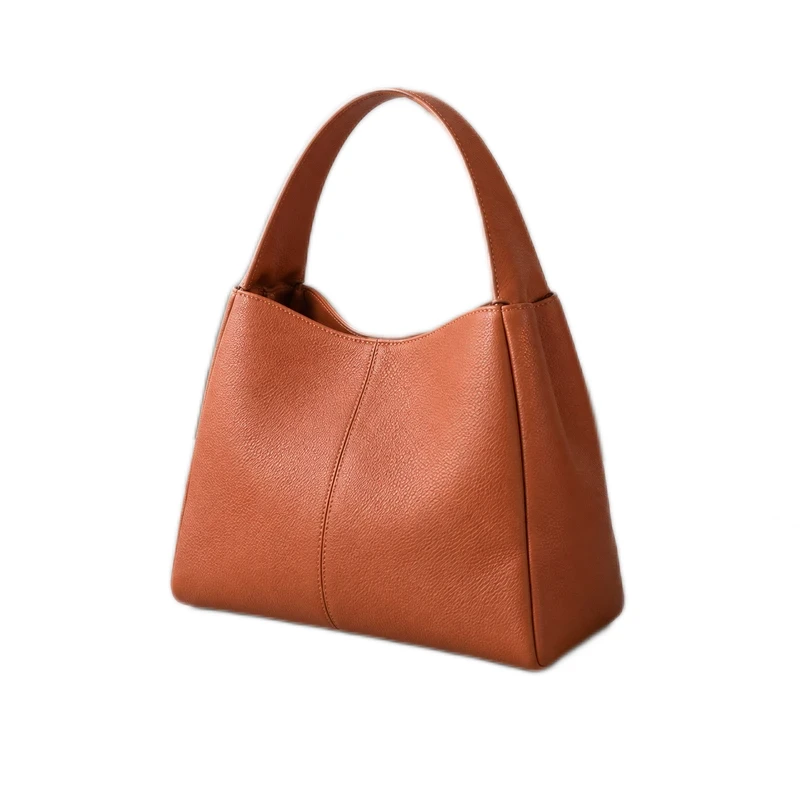
Collection layout illustration
Which background should you use for Shopify product photos?
A white background is a useful catalog choice, not a universal Shopify requirement. The right choice depends on your product, store design and the other images displayed beside it. Keep lifestyle images as additional views when they explain scale or use.
| Background | Works well for | Check before publishing |
|---|---|---|
| White or light neutral | A consistent catalog with clear product edges | White products need enough edge contrast; preserve real shadows when they help explain shape. |
| Transparent | A reusable cutout placed on your theme background | The same file looks different on light and dark sections. Check shadows, pale edges and the actual card background. |
| Brand color | A coordinated collection or promotional presentation | Choose a color that separates from the product and stays consistent across the set. |
| Lifestyle or styled scene | Showing context, size and how the product is used | Do not imply that props or accessories are included when they are not. |
Shopify image sizes, formats and upload limits
Separate the platform upload limits from recommendations for a good-looking collection. Shopify creates additional display sizes and chooses delivery formats for visitors; the appearance still depends on the theme.
Shopify accepts more formats and larger uploads than this studio. Here, start with a still JPG, PNG or WebP up to 10 MB, subject to the device pixel limit. A file accepted by Shopify may need preparation before it can be edited here.
| Item | Current Shopify guidance | Practical preparation |
|---|---|---|
| Upload size | Smaller than 20 MB; up to 5000 × 5000 pixels or 25 megapixels | Check the exported file, not only the editor preview. These are limits, not a target file size. |
| Square product photos | 2048 × 2048 pixels usually displays best | A recommendation for square photos, not a requirement to crop every product to a square. |
| Collection main images | Use a consistent aspect ratio for comparable display sizes | Choose a ratio for the collection, then check each product’s visible margins. |
| File format | Shopify recommends PNG for most product images, followed by JPEG, and also accepts WebP and other formats | Keep PNG for reusable transparent assets; compare quality and bytes for a finished JPG or WebP. |
- Resize images to a consistent frame →
- Compress an image to a file-size limit →
- Compare and convert PNG, JPG and WebP →
Official reference: Shopify: product media types and image guidance
1. Add your photos to a named batch
Open the batch background remover and add JPG, PNG or WebP originals. Name the batch after the collection so you can find it again. Follow the capacity and file-size limits shown by the workspace; split a larger collection into manageable batches.
Choose the background and output format before processing. For this example, use white and JPG. If images are already in the batch, choose the scope that applies to every image in this batch and apply the settings. The preset for newly added images does not change existing ones.
2. Process the set and inspect each result
Start processing and keep the tab open with your device awake. When a photo is ready, open Compare to inspect the original and result. Check handle openings, bottle edges, laces and any pale areas that blend into the background.
Open Edit image when a correction is needed. Erase removes leftover background; Restore brings back parts of the original subject. Review at a useful zoom level and save before returning to the batch. Mark reviewed only after checking the photo. A ready result has finished processing but has not necessarily been checked.
3. Match the framing, not just the background
Choose one finished image as a visual reference. In each image editor, adjust the canvas and use Subject to position or resize the cutout. Leave comparable space around products and avoid cutting off handles or long edges. These are individual adjustments; applying a background preset does not automatically align all subjects.
The collection illustration below is a preview of presentation, not proof that the files share dimensions. Check the exported files themselves. Enlarging a small source cannot recover missing product detail.
Sample product 1Sample product 2Sample product 34. Download, then upload to Shopify
Use Prepare ready downloads, or select a reviewed subset and prepare selected downloads. Save each ZIP part and extract the images before uploading them. Waiting and failed images are not included, so compare the downloaded file count with the set you intended to publish.
Upload the finished images to the relevant products in Shopify. RemoveBG.Studio does not connect to your store or publish listings for you. Inspect both a collection page and a product detail page on desktop and mobile. Theme cropping can change the visible margins even when the original file looks right. If you edit a photo again, prepare a new download so you use the latest version.
Should you use transparent PNGs instead?
A transparent PNG lets the surrounding design show through. Use the transparent background tool when you need a reusable cutout, then preview it against the actual theme background. Choose a filled background when you want the same visible backdrop wherever the image is displayed.
For one product, the white background tool is a shorter starting point. For a collection, the batch workspace keeps the review and downloads together. Local saved batches stay in the same browser; download important originals and finished files as your own backup.
Why does the product still look cropped or uneven?
There are three separate things to compare: the file’s aspect ratio, the space around the product inside that file, and the frame used by your theme. Matching only the file dimensions does not make a small product appear as large as a tightly cropped one.
Start with three images that will appear together. Open the extracted downloads to check their dimensions and margins. Then preview the collection and product pages in your theme on a wide and narrow screen. Look for card image-ratio, crop, fit or image-position settings; the exact names and options vary by theme.
- If only the store view cuts off an edge, inspect the theme’s image frame before re-editing the source.
- If the product is already clipped in the downloaded file, return to the editor and choose a larger frame or fit with padding.
- If every file has the same dimensions but the products look different sizes, adjust subject scale and margins.
- If a transparent image changes color, inspect the background behind it and preview the cutout on both light and dark colors.
Questions before you upload the collection
Does Shopify require white backgrounds? No universal white-background requirement is stated in the linked product-media guidance. Choose a backdrop that accurately shows the item and works with your collection.
Does a smaller file always mean a better product page? No. Check zoomed product detail as well as bytes. Compare formats or reduce unnecessary dimensions, but do not sacrifice the texture a shopper needs to see.
Can this studio publish to my Shopify store? No. Download and upload the files yourself. The examples in this guide illustrate presentation; they are not screenshots or performance tests of a live Shopify theme.
Before publishing
- All intended products are present in the extracted download.
- Edges and openings are clean, and each product still matches the original.
- File dimensions, aspect ratios and visible margins are consistent where needed.
- The collection and product pages have been checked in your actual Shopify theme.
Platform guidance checked September 29, 2026. Follow the linked official documentation for current requirements.
Make your next listing clearer.
Start with one photo or prepare a set. Review the result and download it without a watermark.
Prepare a batch of product photos ↗ Transparent