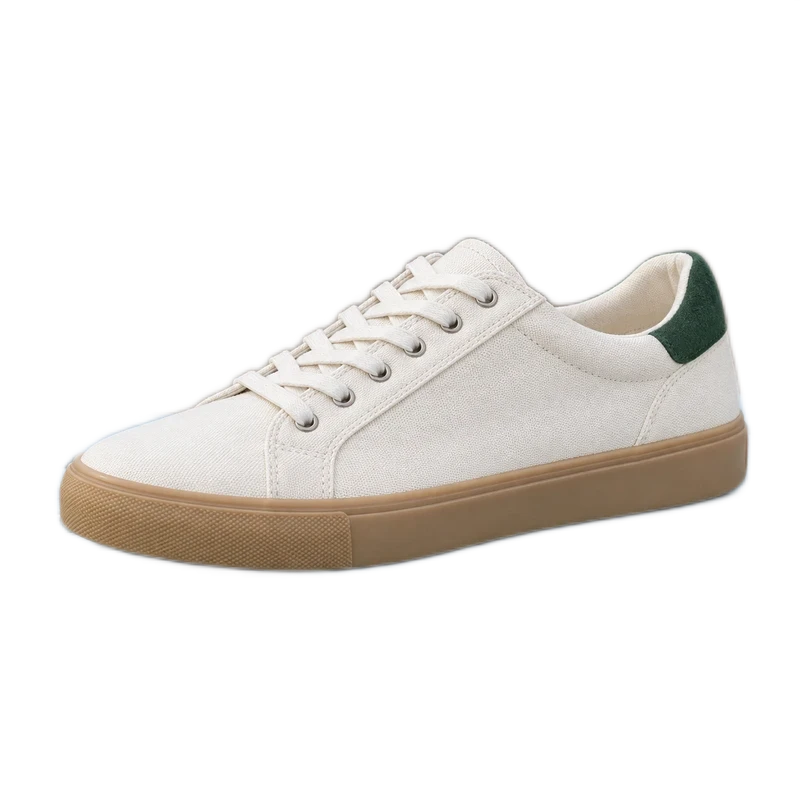
Define one reference look, apply a shared background to the intended batch, then adjust and inspect each product. Background presets do not automatically standardize subject size, lighting or camera angle.
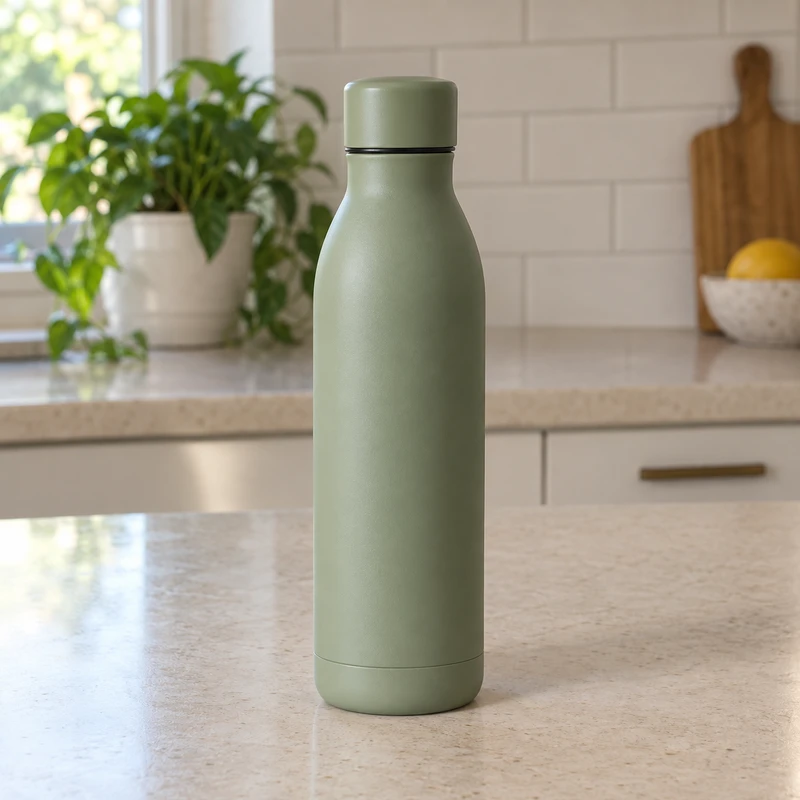
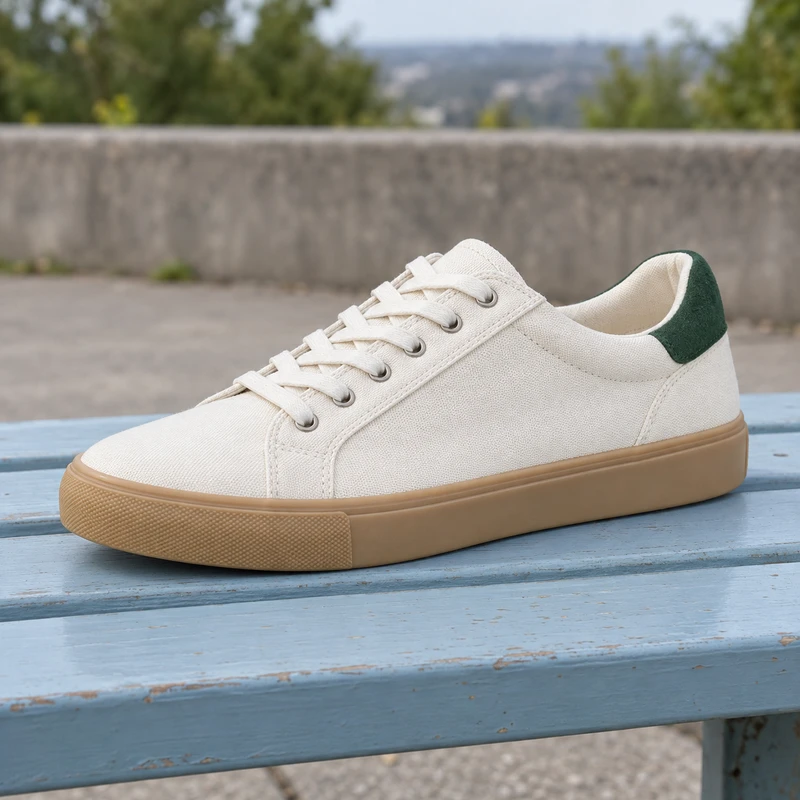

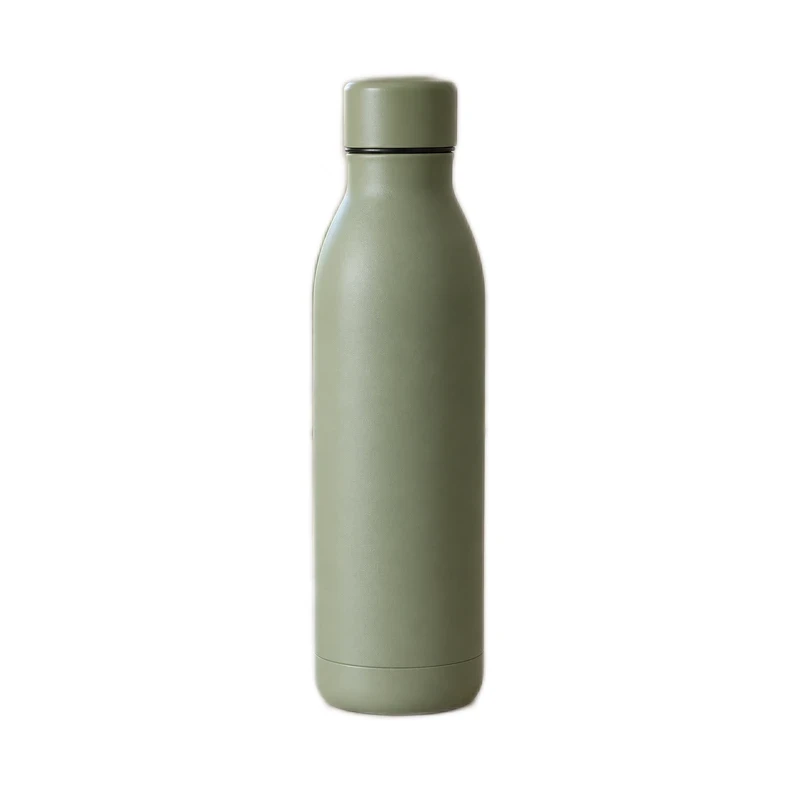
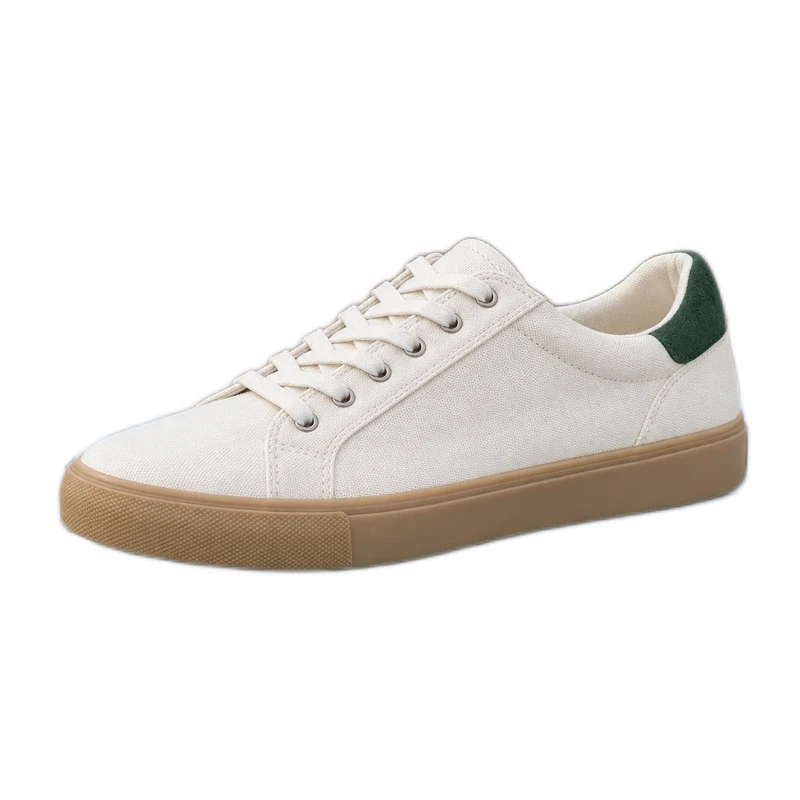
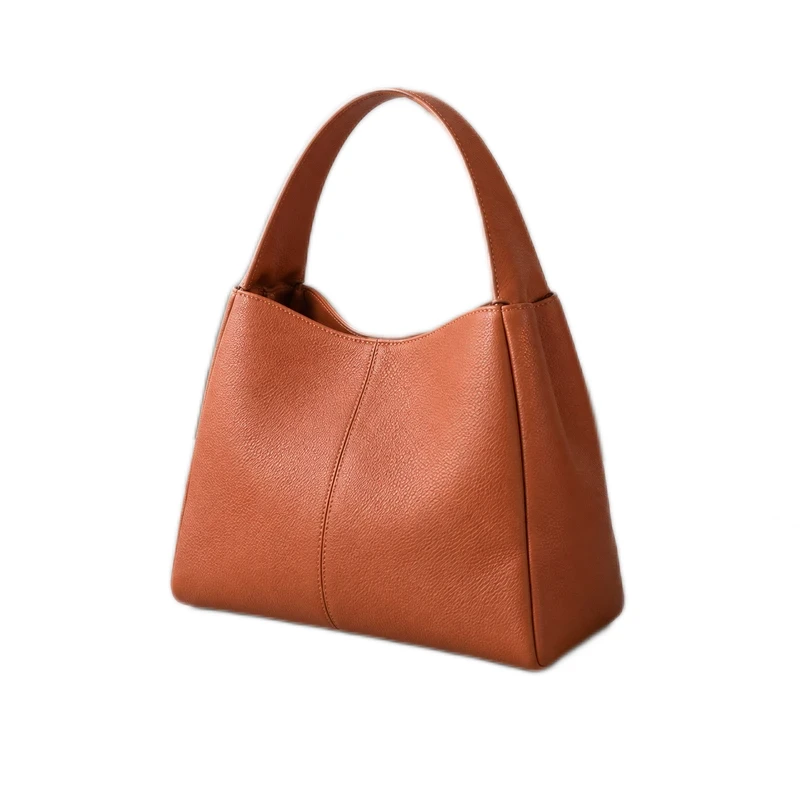
1. Define the reference look before processing
Pick one background color, a target canvas ratio and a framing rule for the collection. For example, you might use white, a square canvas and a similar amount of breathing room around each item. Treat those as your design choices, not universal marketplace requirements.
Decide whether products should have similar visual prominence or preserve relative physical scale. The editor does not know the real-world dimensions of photographed objects. Photograph comparable items from similar angles if that consistency matters; background replacement cannot correct perspective or lighting.
2. Apply the shared background to the right images
Open the batch workspace and add your JPG, PNG or WebP originals. Give the batch a recognizable name. Choose white or a custom background, and choose the intended output format. Use the device capacity shown in the workspace to decide how many images to add.
Check the apply scope before confirming. A preset for newly added images affects future imports; selected images and every image in this batch are separate choices. Apply the backdrop to the intended existing images, then start background removal. Keep the browser tab open and your device awake while it runs.
3. Match canvas proportions and framing
Open a ready image in Edit image and expand Canvas & download size. Set the canvas width and height to the ratio you chose, then apply the canvas size. Check the download dimensions separately. Use Center subject or Fit subject with padding as a starting point and inspect the result.
Repeat the relevant settings on other photos. Use Subject to adjust position or size when one item looks too small or sits too close to an edge. These edits affect the open image; applying a background preset does not copy its canvas or subject arrangement to every photo. Avoid enlarging low-resolution sources merely to meet a number.
4. Review individual edges and the set together
Compare each cutout with its original. Check handles, pale edges, holes and small details, and use Erase or Restore where needed. Mark reviewed after checking an image. A ready image has finished processing; it has not necessarily passed your visual review.
Then look across the collection: do the margins, background colors and product placement feel consistent? A shared white background will not remove a color cast on the product or recreate matching shadows. If the lighting differs strongly, use better source photos or a separate photo-editing workflow.
Sample product 1Sample product 2Sample product 35. Package the latest version of the set
Choose Prepare ready downloads, or select a subset and prepare selected downloads. Save all ZIP parts and extract them before uploading. Waiting and failed images are excluded, so compare the file count with your intended collection.
If you change a backdrop or edit an image after preparing a package, prepare a new download. Existing packages retain their earlier versions. Inspect the extracted files for background, dimensions and framing; a tidy grid in a browser is not proof that every underlying file has the same size.
6. Check the collection where it will be used
Upload the finished files to your store or catalog and inspect both thumbnails and full images. A theme may crop a photo differently from your editor. On Shopify, the official image guidance recommends consistent aspect ratios for main images displayed together; other destinations can have different presentation requirements.
Save your reference choices for the next collection: background, canvas ratio, download dimensions and a representative finished image. Local batches are stored in the same browser and can be lost when site data is cleared, so download important work and retain your originals.
Official reference: Shopify: consistent product image aspect ratios
Final checks
- The shared background was applied to the intended images.
- Canvas proportions, download dimensions and subject placement were checked separately.
- All intended photos are reviewed and included in the download.
- The latest files look consistent in the destination’s actual layout.
Workflow checked against the current studio controls, September 20, 2026.
Make your next listing clearer.
Start with one photo or prepare a set. Review the result and download it without a watermark.
Create a consistent photo batch ↗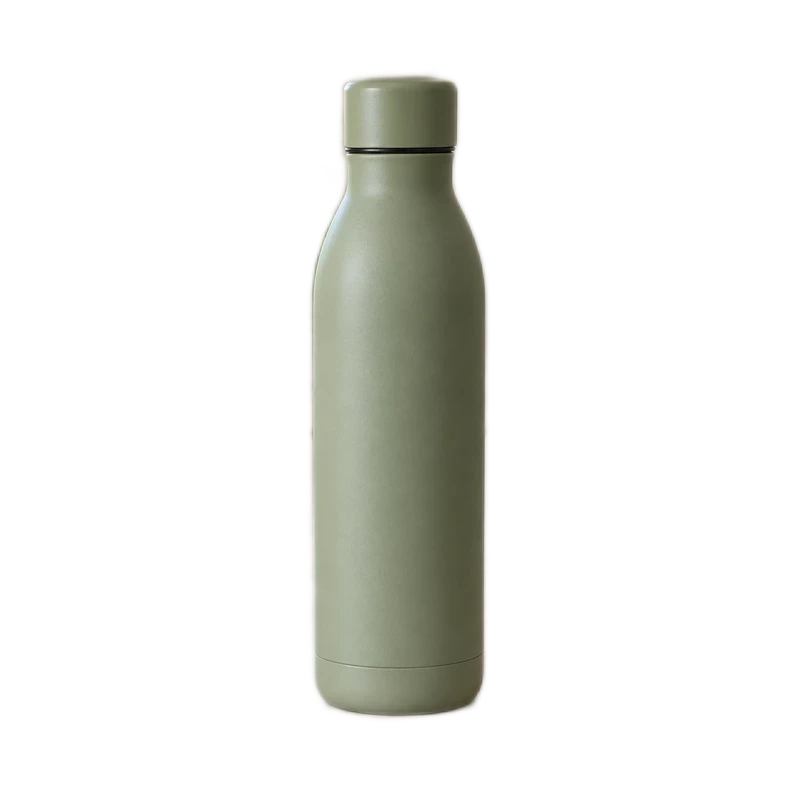 Transparent