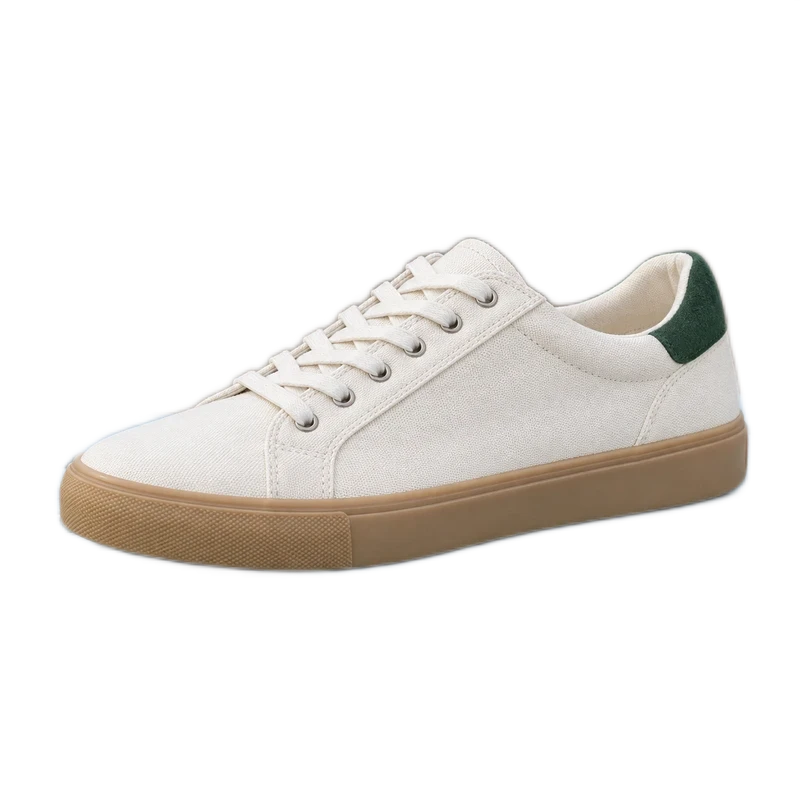
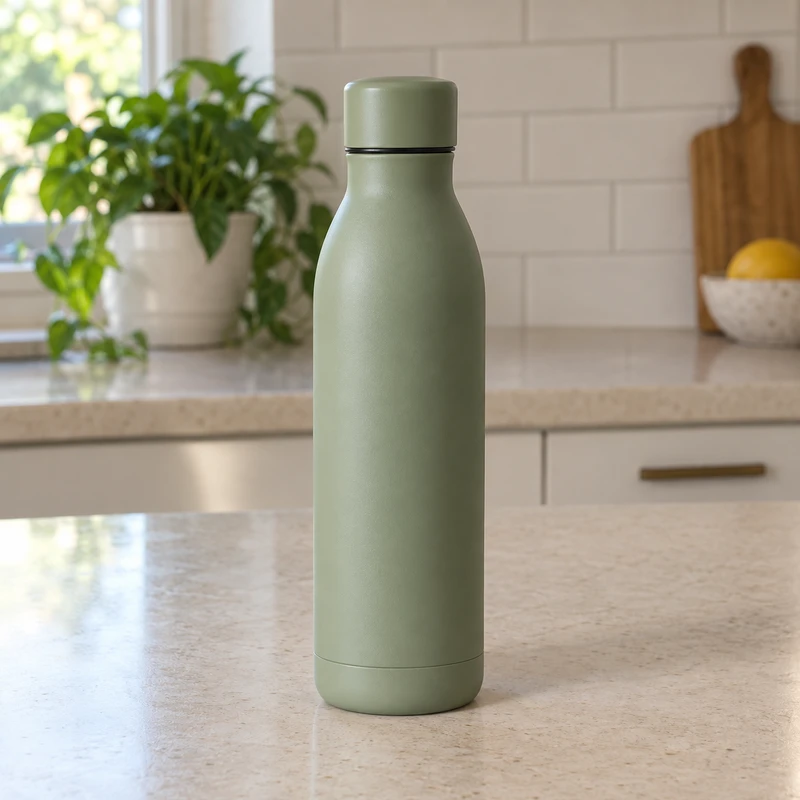
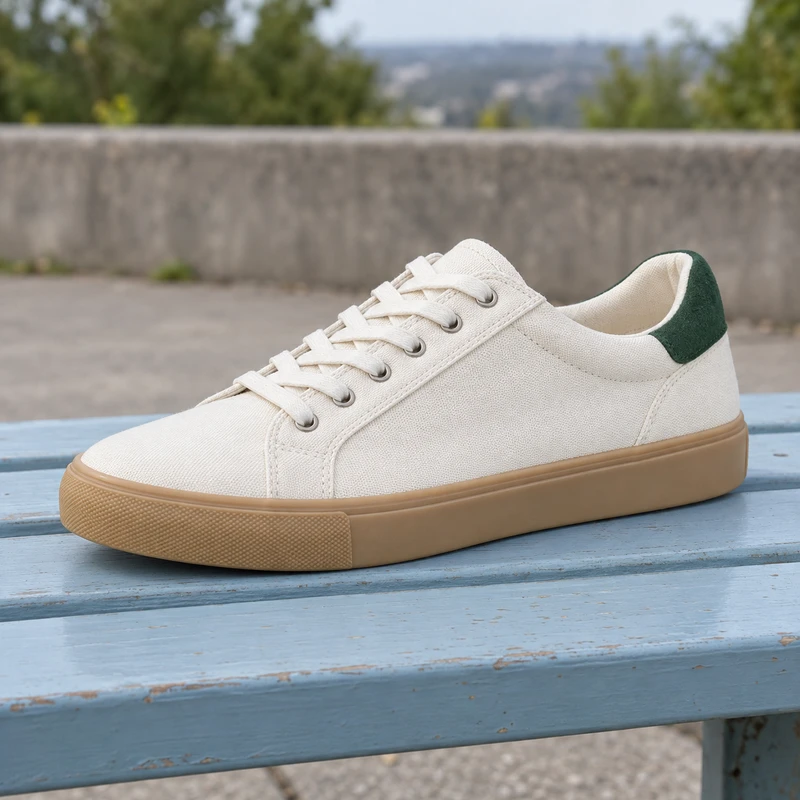
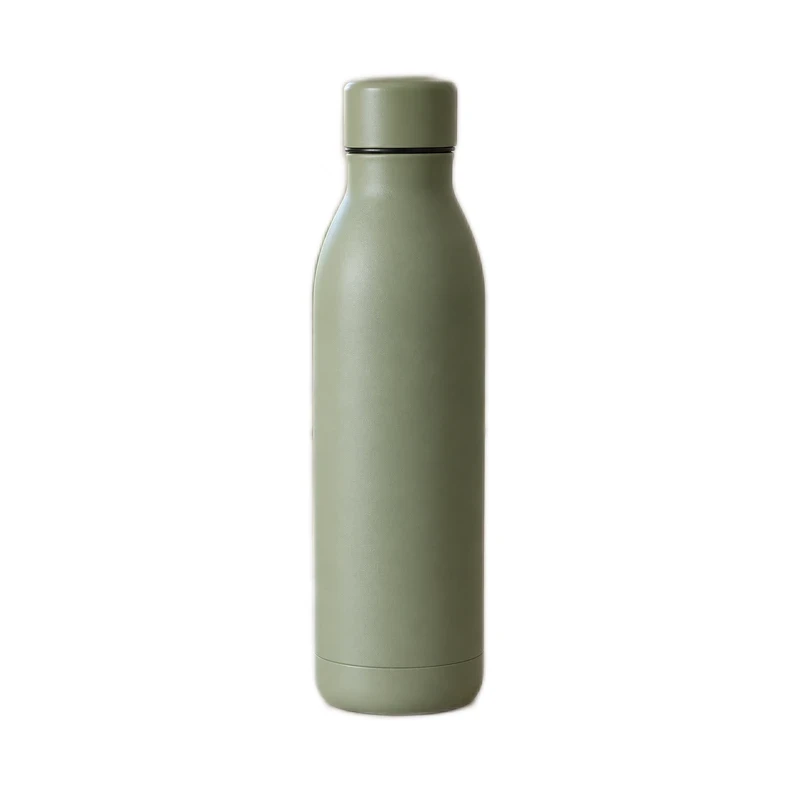
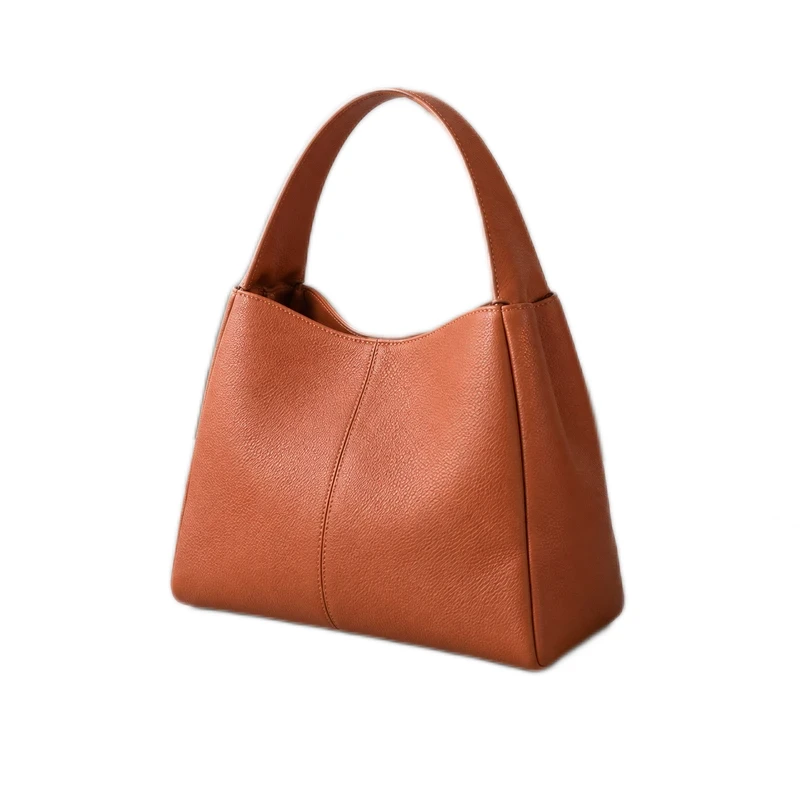
Finish your listing photo on a visible background. Etsy does not support transparent PNGs in shop images, so keep the transparent cutout for editing and export a filled image for the listing.
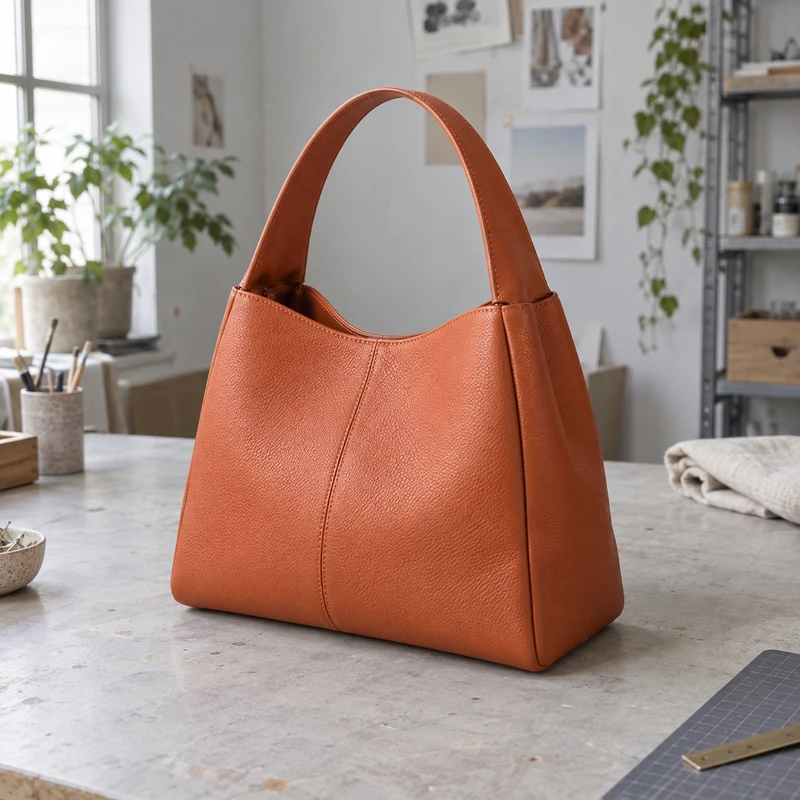 BeforeAfter
Start with an export Etsy can display
Etsy says transparent PNGs are not supported and transparent areas can appear black. A PNG with a solid background and a transparent PNG are different outputs. Select a visible backdrop before exporting a listing photo; JPG is a practical choice for a finished image.
Etsy recommends listing photos with both dimensions at least 2000 pixels. Start with a sufficiently detailed original and check the dimensions after cropping and downloading. Making a small image larger cannot recover detail. The official guide also recommends leaving space around the subject for different thumbnail crops.
Official reference: Etsy: image requirements and listing photo best practices
1. Choose the photo and background together
Use your own clear product photo with enough room around the item. For woven, fringed or translucent products, a source with good separation from the backdrop makes the edges easier to inspect. Keep additional photos that show scale, texture and real use.
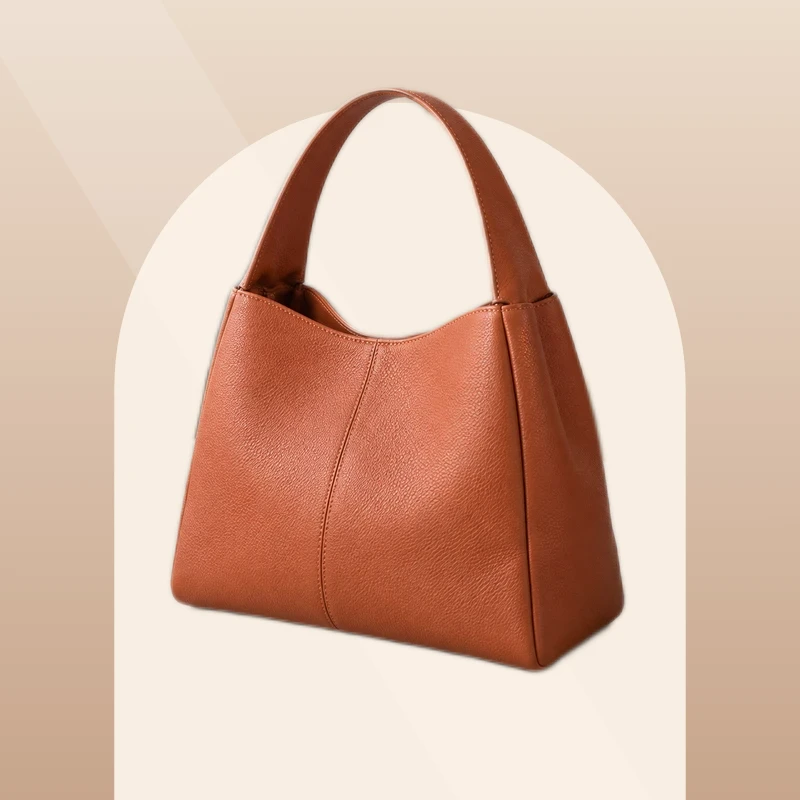
Start in the homepage studio to change the photo background. For the example, choose the warm arch scene; you can also use a solid color or an image of your own. The white background tool is a direct option for a plain result. Pick a backdrop that makes the item readable without suggesting accessories or features that are not included.
2. Remove the background and preserve the details
Add the original JPG, PNG or WebP and wait for background removal. Compare the result with your source. Check stitching, thin straps, tassels and spaces inside handles. Use Restore where part of the product disappeared and Erase where pieces of the old background remain.
Try inspecting the cutout against both a light and a darker color, then return to your chosen backdrop. Small edge adjustments may help, but large feathering changes can soften the product itself. If delicate material still looks wrong, keep a better original photo or retouch it further before listing.
3. Leave room for thumbnail cropping
Use Subject to position the item and leave visible space around its important edges. Crop canvas changes the final frame, while Crop subject trims the cutout. Avoid removing the extra room you will need when the listing is shown in another shape.
The illustration below shows the same edited sample in square and landscape windows. It is a visual check, not an Etsy crop simulator. After uploading, use Etsy’s listing preview and thumbnail controls to check that handles, corners and other important details remain visible.
Square windowLandscape window4. Export a finished image and check the upload
Select the final solid color or scene and download as JPG, or use PNG with that backdrop still selected. Do not leave None selected and assume the listing will fill the empty area correctly. Open the downloaded file to check the background and image dimensions before uploading.
Upload the file to Etsy yourself; the studio does not access your shop. Check the listing thumbnail and full photo, including on a narrow screen. If you prepare several photos, use similar framing and an intentional background style across the set. The batch tool can apply a shared backdrop, but you still need to review each image.
Why did the background turn black?
First check whether you exported a transparent PNG. A viewer can display empty pixels as black, and Etsy explicitly warns about this for transparent uploads. Reopen the cutout, select a visible background, and export a new filled image. Renaming the extension does not change the image format.
If a black patch is actually part of the image pixels, changing the file type will not remove it. Compare with the original and inspect the mask. Keep a separate transparent PNG for future designs, and use the filled version for your listing.
Before publishing
- The exported listing image has a visible background.
- Fine details and product colors still match the original.
- Important edges have room for different thumbnail crops.
- The downloaded dimensions and the actual Etsy listing preview have been checked.
Platform guidance checked September 20, 2026. Follow the linked official documentation for current requirements.
Make your next listing clearer.
Start with one photo or prepare a set. Review the result and download it without a watermark.
Try a different photo background ↗ Transparent