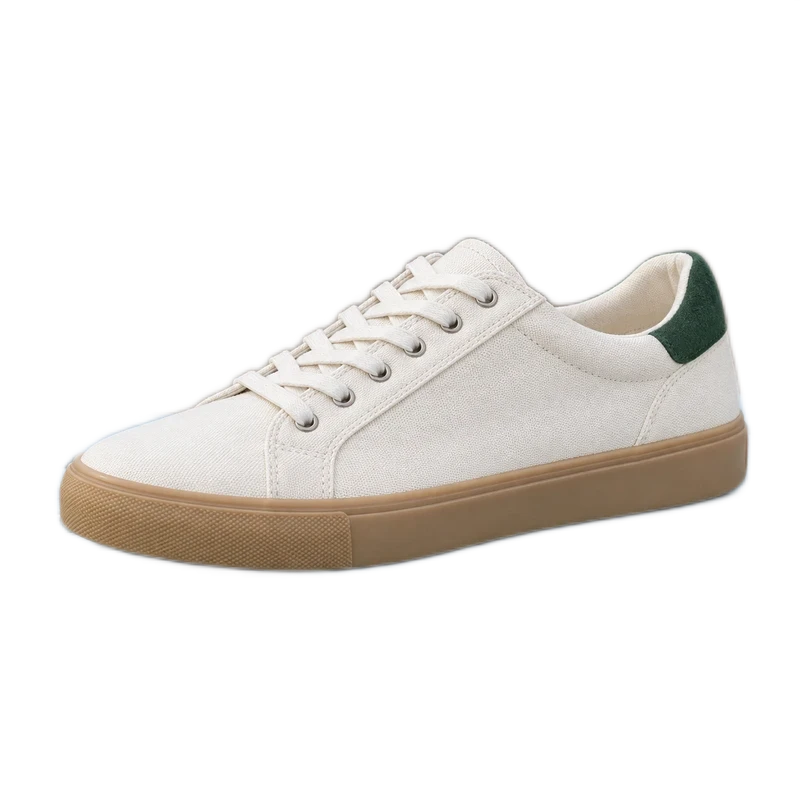
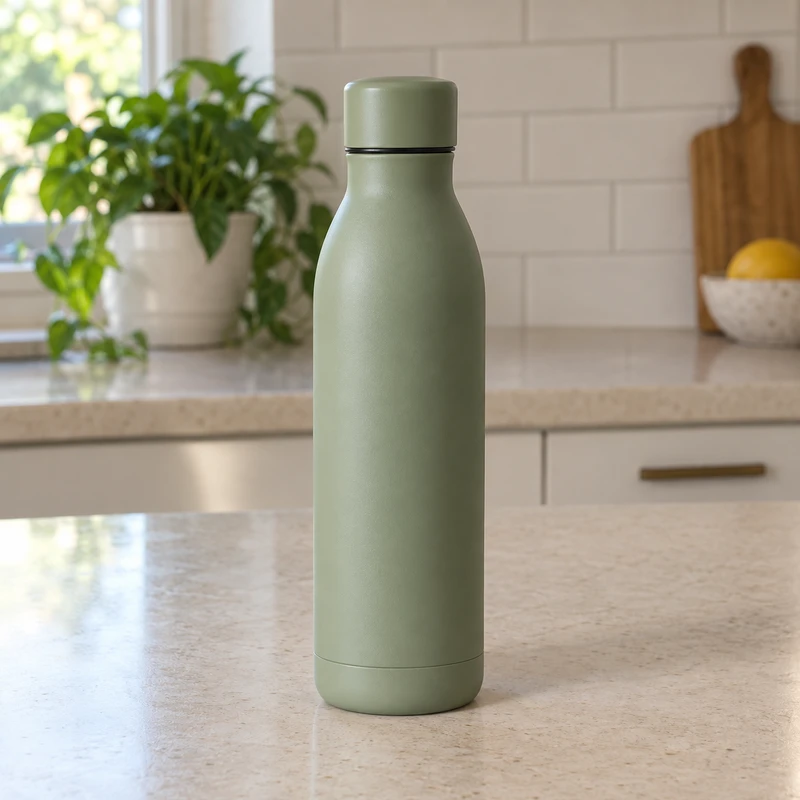
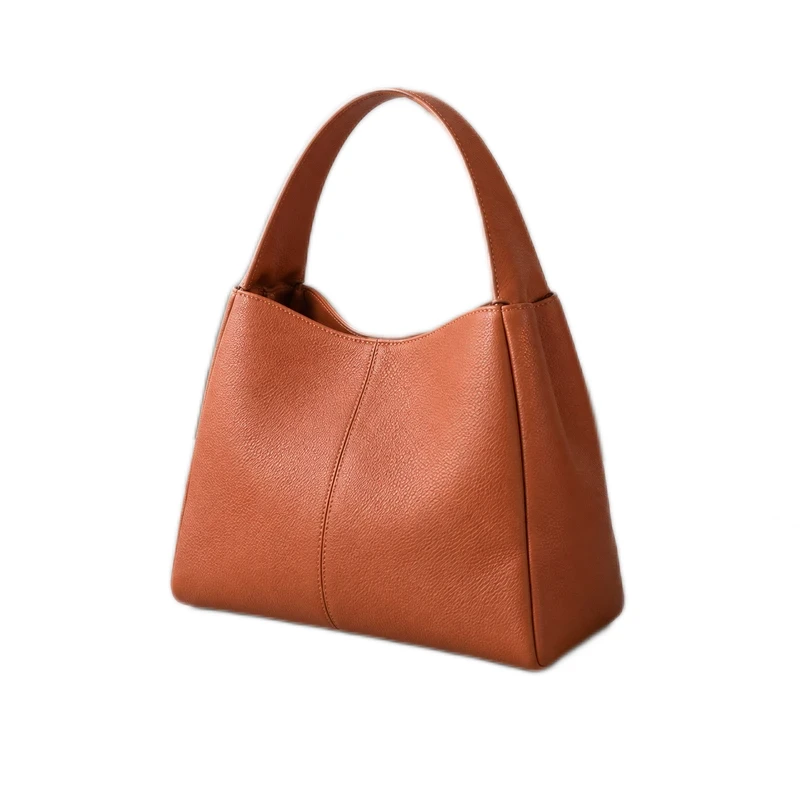
Clean up the background while preserving the item. Check the result against the original, especially around pale materials, worn edges and any condition details a buyer needs to see.
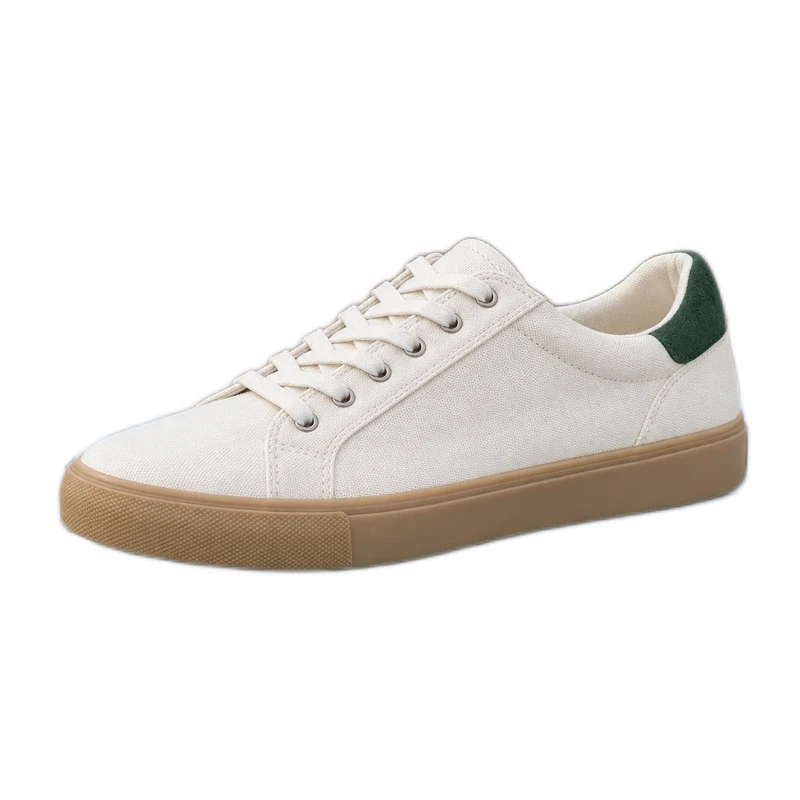
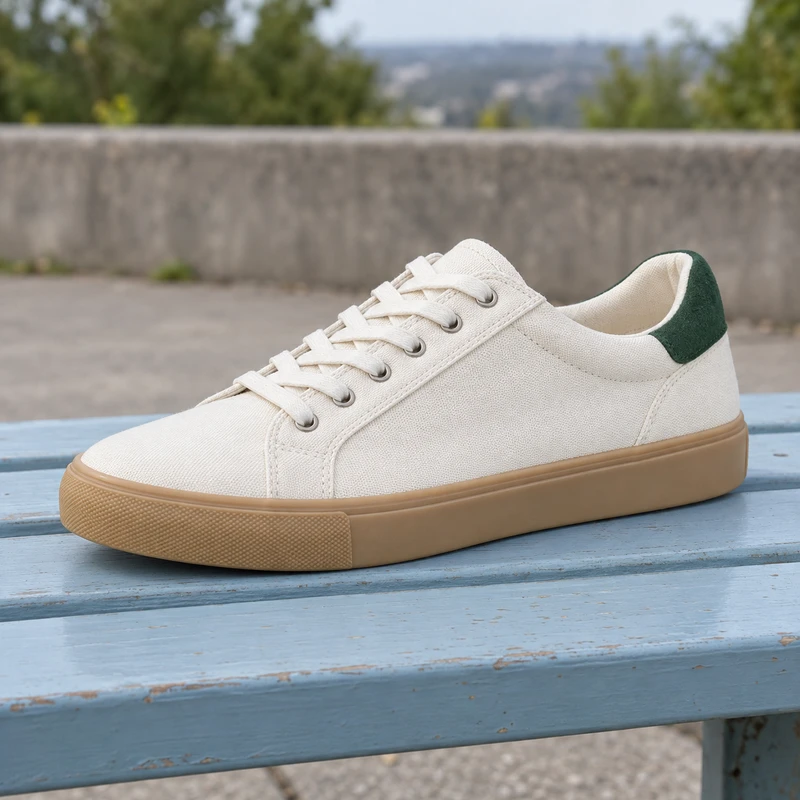 BeforeAfter
Choose the editing workflow that fits your listing
eBay already provides a background tool in its listing editor. For a single image, that may be enough. Use RemoveBG.Studio when you want to prepare files before listing, inspect cutout edges in a separate workspace, or organize a set of photos together.
eBay’s picture policy requires photos to accurately represent the item and disallows added borders, promotional text and watermarks. A white backdrop does not by itself establish that a listing meets every requirement. Keep the original photographs and preserve visible wear or damage in your edited images.
Official reference: eBay: picture policy
1. Replace the original backdrop with white
Open the white background tool and choose a JPG, PNG or WebP photo of the actual item. The page starts with white and JPG selected. Once background removal finishes, the cutout appears on solid white.
Use a source where the entire product is in frame. For a pale sneaker, a backdrop with some contrast helps you see where the sole ends. Background removal cannot reveal a cropped-off toe or sharpen details that were never captured. Use a better original if those details matter.
2. Inspect pale edges and keep condition details
Compare the processed image with the original. Zoom in around laces, openings and the sole. Restore brings back parts of the subject that were removed; Erase cleans up remaining background outside it. Inspect a white product against a contrasting color temporarily, then return to white.
Do not brush away scuffs, stains or other signs of wear that are on the item. Keep separate close-up photos of those details. The tool replaces the background; it does not verify item condition or generate an accurate replacement for missing material.
3. Frame the item and download the photo
Use Subject to move or resize the cutout within the canvas. Leave a modest margin so the item is fully visible, and avoid filling the frame so tightly that a listing crop cuts off an edge. Save the final result as JPG with white selected.
eBay recommends larger, clear images and suggests about 1600 × 1600 pixels in its photo tips. Inspect the actual exported dimensions rather than assuming the editor preview reflects the file size. Increasing canvas dimensions is not a way to restore product detail.
Official reference: eBay: adding pictures and photo tips
The item comes first.
Keep the entire shoe visible. Compare pale edges with the original and add separate photos of any wear.
Review the detail checklist →4. Prepare several photos without skipping review
For multiple items or angles, open the batch background remover. Add the originals, choose white with JPG, and apply the setting to the intended images. Start the batch and keep the tab open while it processes. Capacity depends on the device and is shown in the workspace.
Review each result and make any corrections inside Edit image. Mark checked photos as reviewed, then prepare downloads for the ready set or a selected subset. Extract the ZIP parts and confirm that every intended angle is present. Waiting and failed photos are excluded from a ready download.
5. Check the photo in your eBay listing
Upload the finished photos in eBay and preview the listing before publishing. RemoveBG.Studio does not submit the listing for you. Confirm that the item is fully visible in the main photo and that additional angles and condition close-ups remain available.
If the white product still blends into the background, a different original shot or a suitable neutral backdrop may show it more clearly. Choose clarity and accurate presentation over forcing every item onto white. Review the current platform guidance for your listing before you publish.
Before publishing
- The edited photo still shows the actual item and its condition.
- Pale edges, laces and openings have been compared with the original.
- The exported file is clear, correctly framed and large enough for the intended use.
- All intended angles and condition photos are present in the eBay listing preview.
Platform guidance checked September 20, 2026. Follow the linked official documentation for current requirements.
Make your next listing clearer.
Start with one photo or prepare a set. Review the result and download it without a watermark.
Make a white-background product photo ↗ Transparent